Guest post: The Holiday Ruffle Scarf

I can't even tell you how excited I am about this tutorial! It is so easy, and it looks so elegant! Here are the materials you need:
* 11''x60'' piece of satin
*sewing machine and matching thread
*scissors
*measuring tape
*white crayon
Step 1:
Cut your satin to size. The size I used is a rough estimate. I had a lot of scraps of satin in different colors that I have been making these scarves with. Each of them are a few inches different, but they all end up looking pretty much the same!

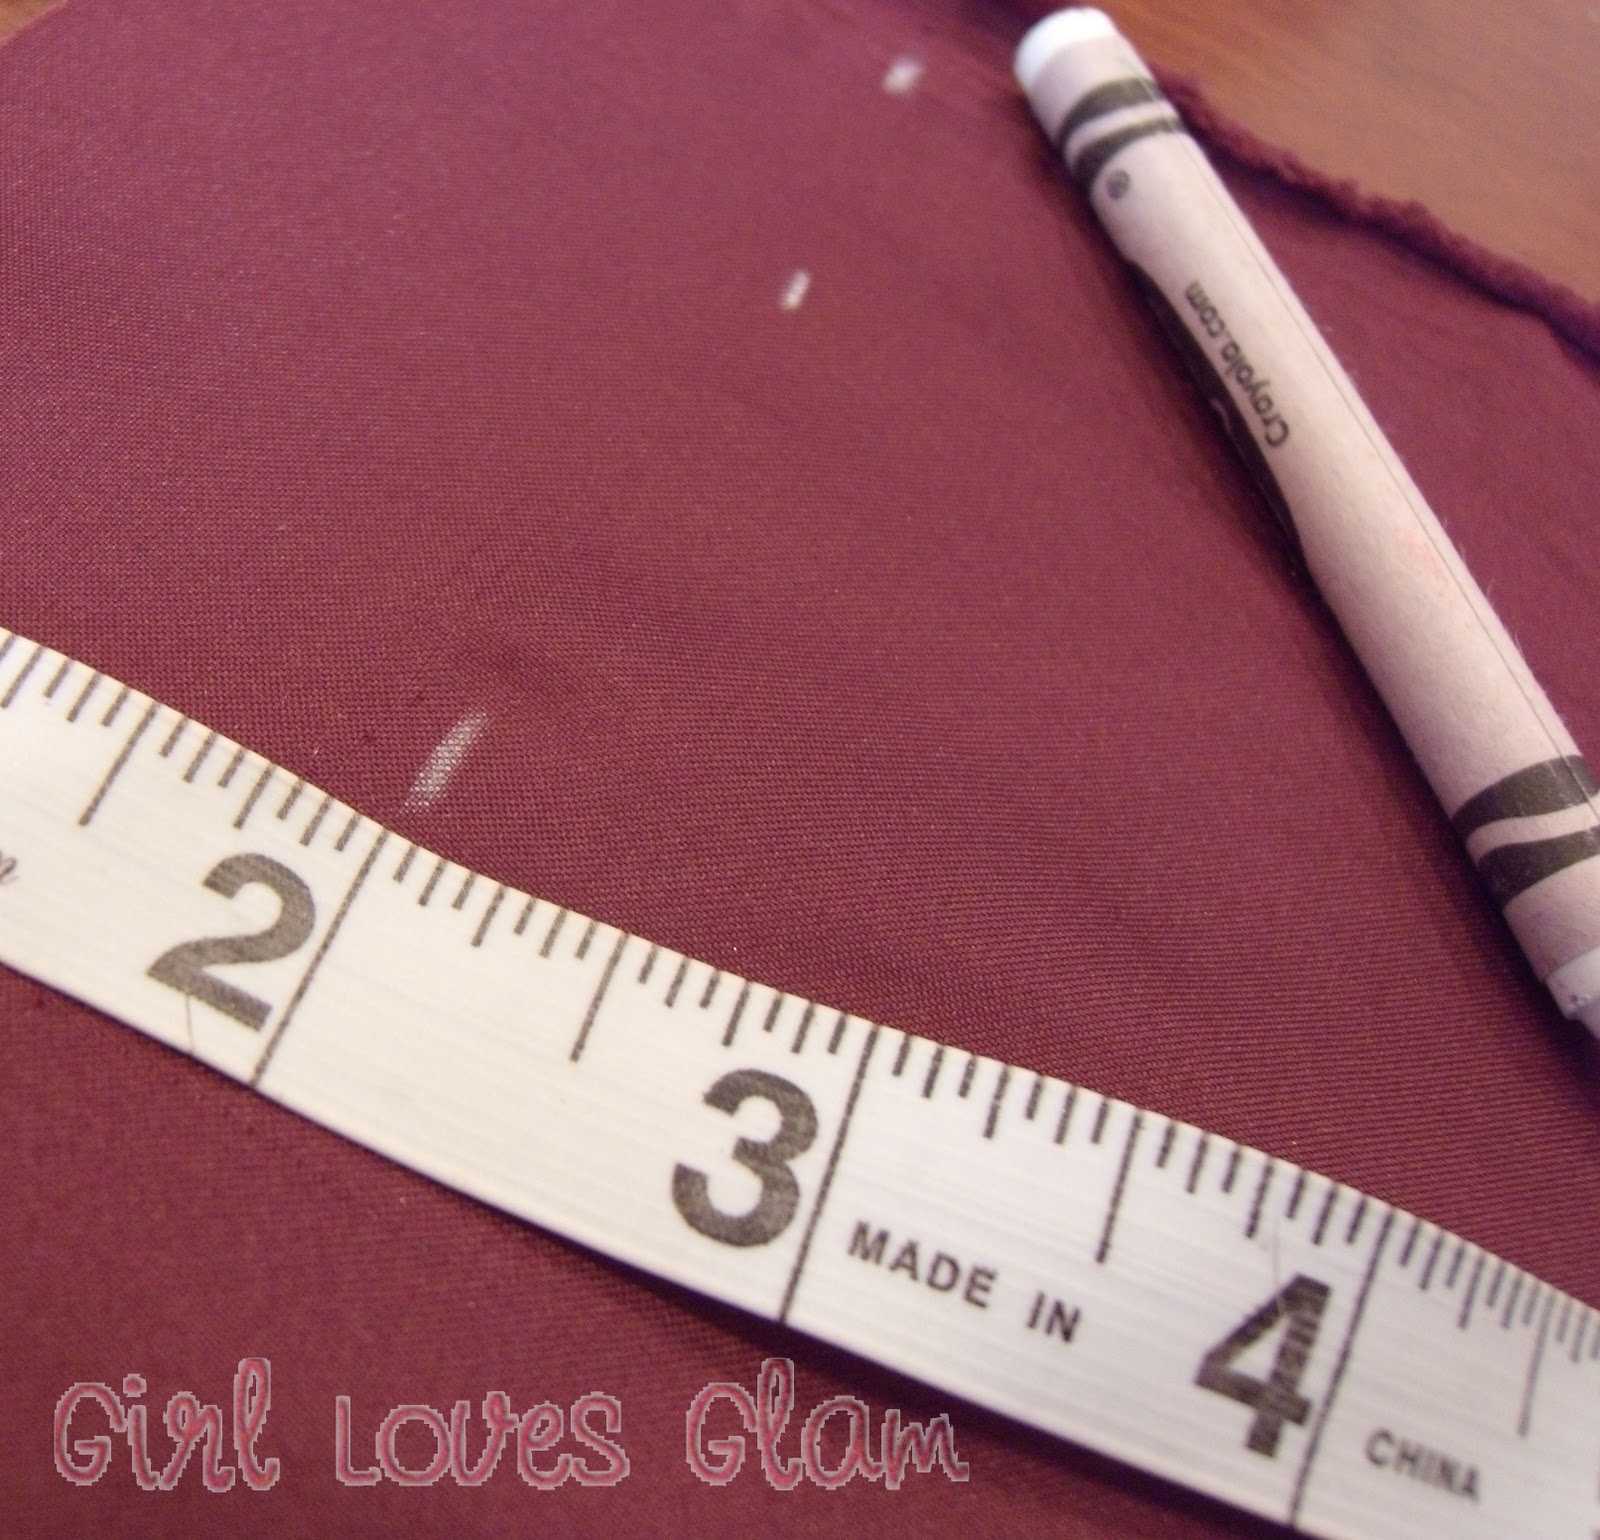
Step 2:
Measure and mark spots 2 to 3 inches apart (I have three marked lines, the more you do, the more ruffles you will have). Mark with your white crayon all the way down the back of your fabric.This is where your ruffles will be.
Step 3:
Sew along the lines you have drawn with long stitches.

Step 4:
Pull one string from the stitch and make the satin ruffle. Pull to make ruffles even.

It should end up looking like this...

Step 5:
With right sides together, fold in half (lengthwise) and pin. Also pin one of the ends as well.

Step 6:
Sew along your pinned edges with your normal sewing straight stitch (be sure to adjust your sewing machine back to the smaller stitch after using the long stitch earlier).

Step 7:
Turn your scarf right side out.

Step 8:
Sew your open side shut with rough edges folded in.

Even out your ruffles again and...
you are done!
It can be worn without a knot...

Or with a knot! They are both beautiful!

Source: allthingrenewable.blogspot.com
Không có nhận xét nào:
Đăng nhận xét