This tutorial is one we've been talking about doing for ages. Luckily, a reader submitted it for our reader submission post this week, so we didn't have to do it ourselves! We will have another great tutorial tomorrow on how you can use these bows for babies with little or no hair, so stay turned. Until then, enjoy these detailed instructions on how to make a hair bow with ribbon from Little Lizard King!


Add a strip of glue to the thin ribbon .

Attach the ribbon to the pinched center of the bow.


 Back to the tutorial.


Place an alligator clip on your ribbon.


Here's a quick how-to-hair bow.

Supplies needed:
- Needle
- Thread
- Ribbon
- Alligator Clips
- Hot Glue and Glue Gun
- At least 1 cute little girl

Thread a needle.

Take some ribbon.

Create one loop with the ribbon.

Make a second, equally sized loop. My two loops are about 5" across. There is not a right or wrong size regarding the length of your hair bow. Pinch the ribbon in the center. Do not let go.

Repeat. You should now have two layers of ribbon per loop.

For a different effect, create three loops.

Push the needle through the center point of the ribbon.

With the needle poking through the ribbon, spread out the loops of ribbon to create an X.

Push the needle entirely through the ribbon. Do not let go of the ribbon.

Pull the needle through the other side.

Repeat. Push the needle back through one side of the ribbon.
Pull the needle out the other side.


This is an optional step. Loop the thread around your ribbon two times.

Pull the thread tightly to pinch the ribbon in the center. If you do not want a pinched center, do not complete this step. I typically do not complete this step if I am creating layered hair bows. Wrap the thread around the pinched center two or three times.

Regardless of whether you pinched the center of the ribbon or not, push your needle through one side of the ribbon, and pull it back through the other side.

Do this two times.

Cut your thread. If you stop here, it looks nice to glue a small 2-3" long piece of 1/4" wide ribbon around the pinched center. If you are using a wider ribbon, cut the ribbon to size and heat seal the raw edges using a lighter.


Add a strip of glue to the thin ribbon .

Attach the ribbon to the pinched center of the bow.


If you want to layer your hair bow, repeat the aforementioned steps.

Arrange one bow on top of the other according to your preference.

Glue the two bows together with a hot glue gun.

Repeat with other types, sizes, and colors of ribbon.

Add embellishment or bling, if you desire.


Use a lighter to heat seal the ends of each raw edge of the ribbon. This prevents the ribbon from fraying.

Cut a piece of ribbon approximately 4-5" long.

Add a strip of hot glue down the center of the entire ribbon.

Beauty supply stores sell 100 alligator clips for around $5. You can also buy them on Ebay and probably Etsy. It is shocking how fast you fly through 100 alligator clips. It's insane. Buy more than one pack.


Wrap the alligator clip with the ribbon.

Glue your hair bow on top of the alligator clip.

Wahlah!
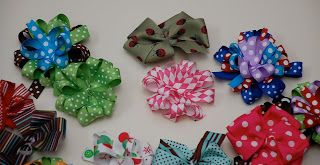
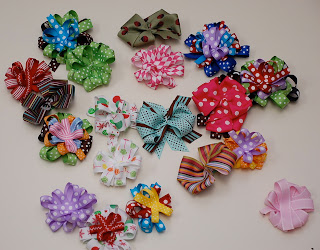
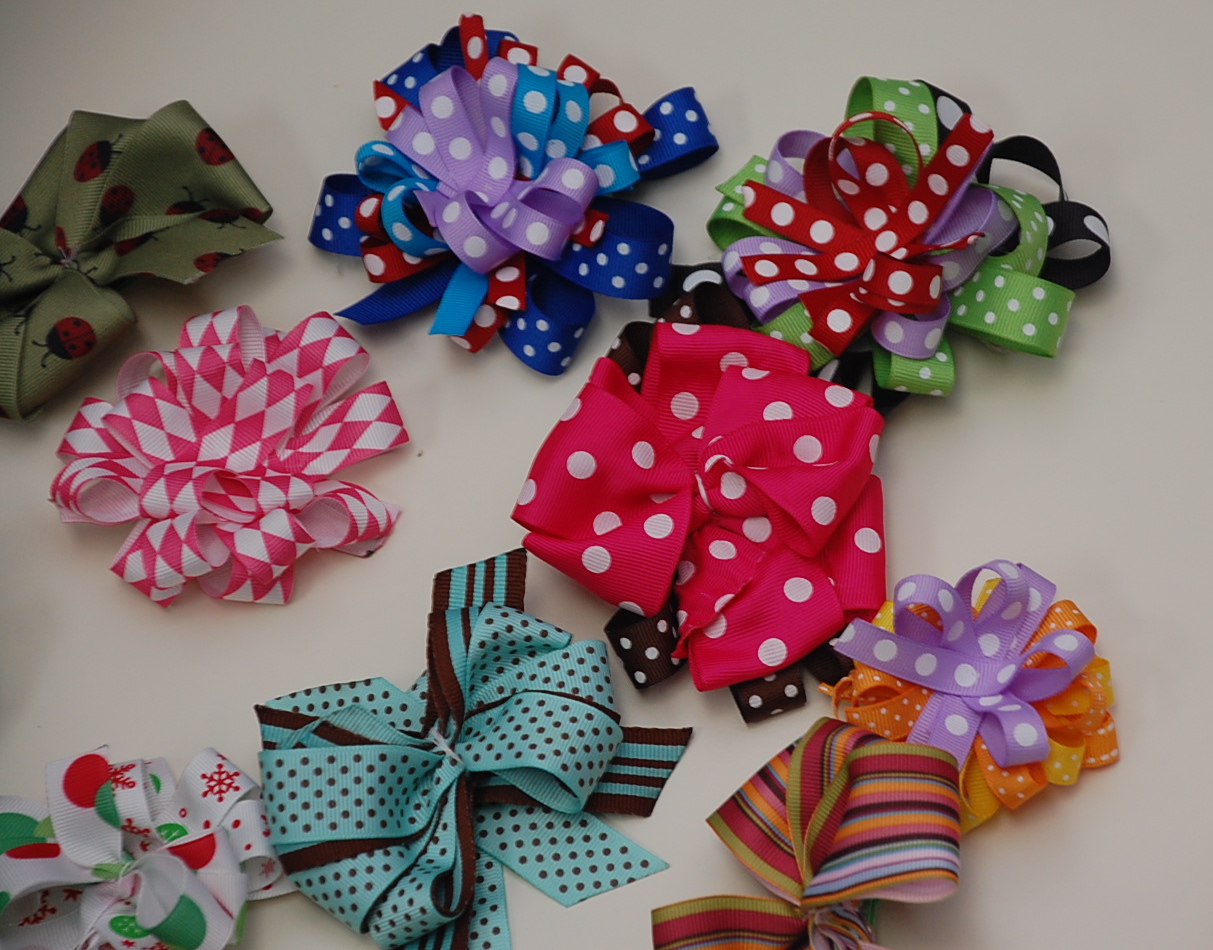
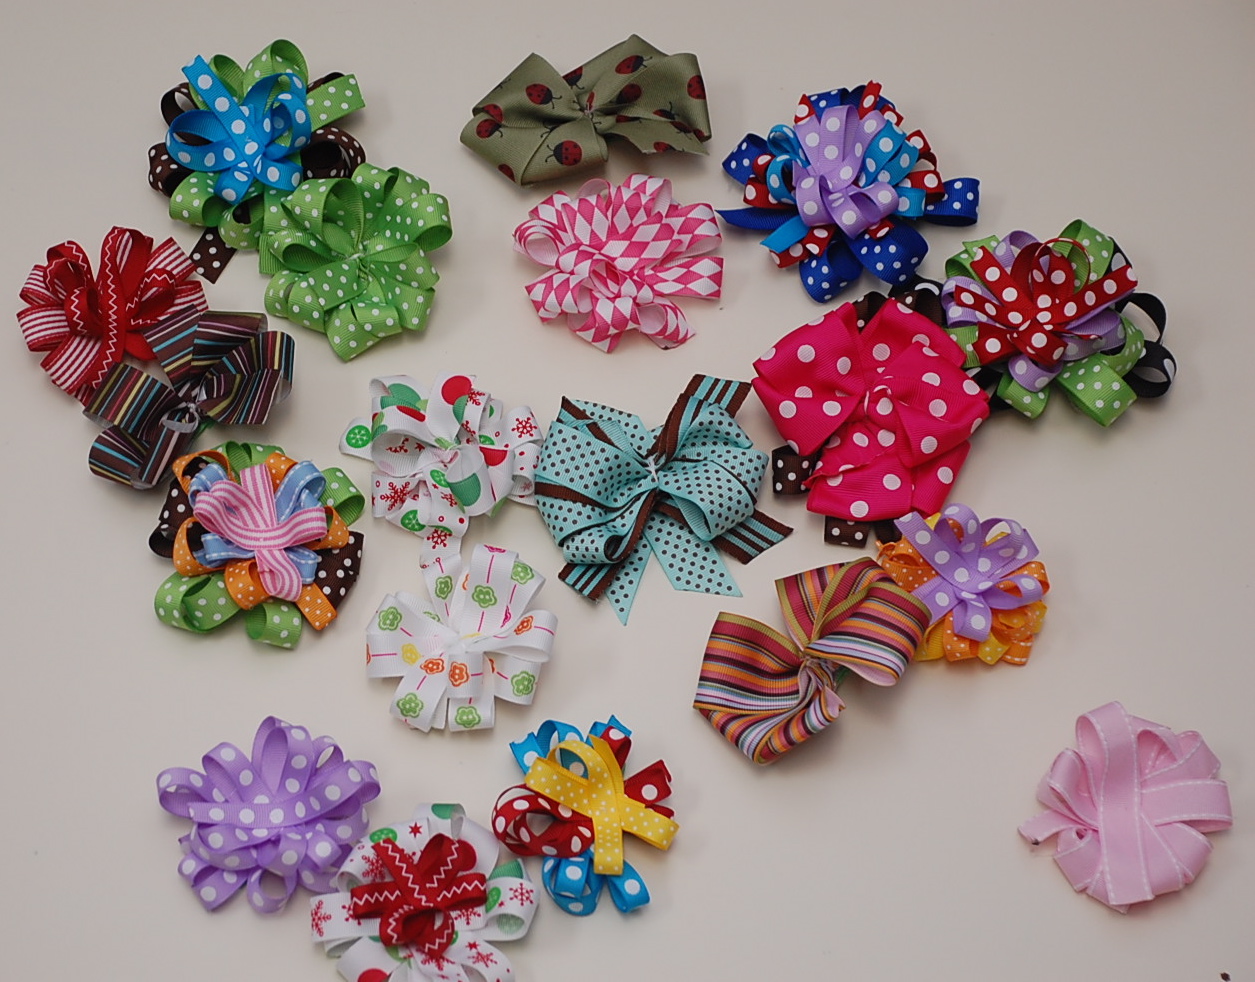
Now, be creative. Combine colors, sizes, and prints of varying ribbon for cute, coordinating, and creative hair bows.
Before you know it, you'll be swimming in hair bows.

My former color guard cousin loaded us up on ribbon over Christmas, and I'm finally putting it to good use. Thanks, KK.
Enjoy,
Little Lizard King

Source: littlebirdiesecrets.blogspot.com
Không có nhận xét nào:
Đăng nhận xét